

JGrid Tutorial #3
#Swing

In this tutorial I will show you how to visualize more complex data with renderers. First we have to create a data model. For this tutorial we will work with the java.awt.Color class and create a ListModel with some colors in it:
Random random = new Random();
for(int i=0; i <= 100; i++) {
model.addElement(new Color(random.nextInt(256), random.nextInt(256), random.nextInt(256)));
}
grid.setModel(model);
After assigning this model to the JGrid the result will look like this:
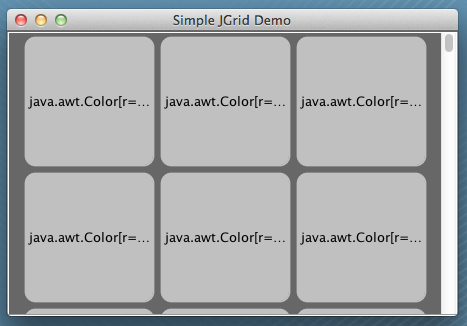
The JGrid uses a default renderer to visualize data. This renderer based on a JLabel and displays the toString() results from the given data. Therefore you see these "java.awt.Color..." strings in the grid cells.
To visualize the colors inside the grid we need a new renderer. All renderers for the JGrid must implement the interface GridCellRenderer. Here is the code for a simple renderer for colors:
  private static final long serialVersionUID = 1L;

  @Override
  public Component getGridCellRendererComponent(JGrid grid, Object value, int index, boolean isSelected, boolean cellHasFocus) {
    if(value != null && value instanceof Color) {
      this.setBackground((Color) value);
    }
    return this;
  }
}
Now we have to assign the renderer to the JGrid. Here is a different to the default JList or JTable behavior. The renderer for JGrid are stored in a special handler. You can refer to this handler by grid.getCellRendererManager() / grid.setCellRendererManager(). By using this handlers you can manage the same renderers for different grids (On a later JGrid release I will add SPI support to the handlers).
To add the custom renderer to your grid you have to add it to the handler:
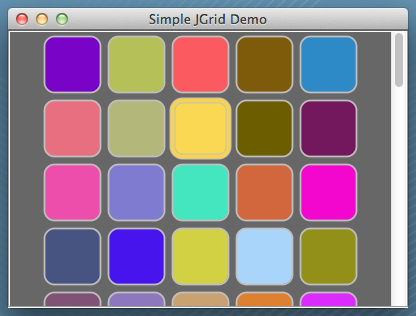
Now our application shows the right colors inside the grid cells:
You can download the source file for this tutorial here.

